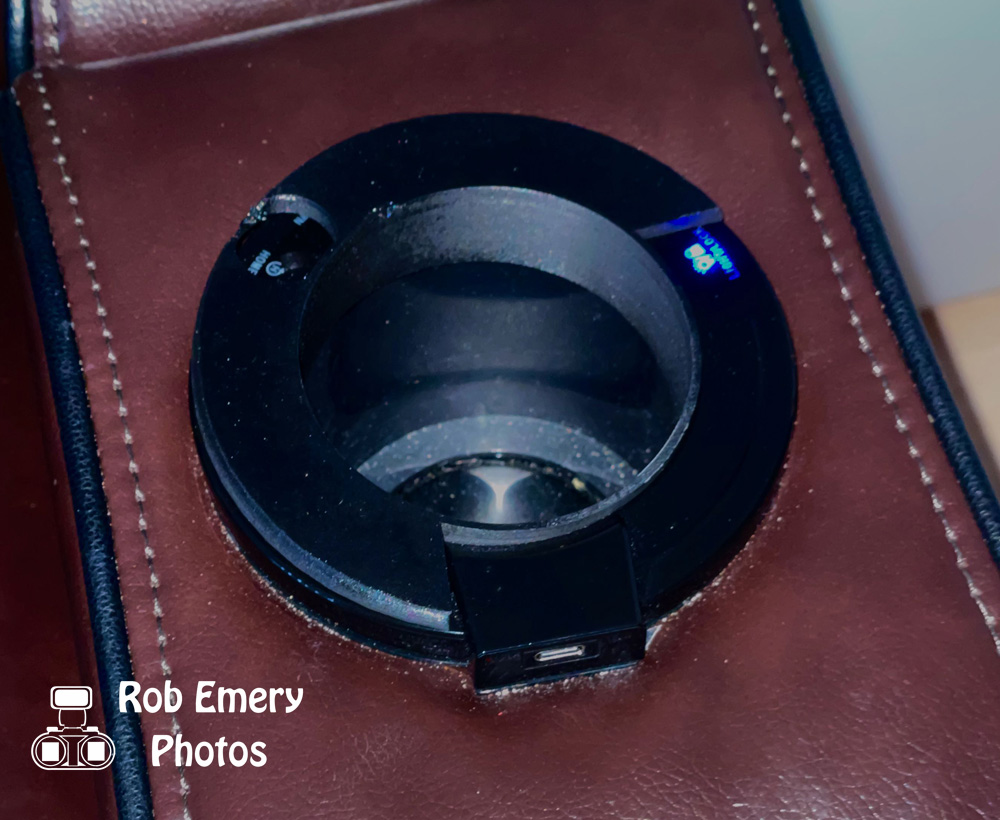
My recliner has buttons on the cupholder in the armrest, which is convenient for access but can be triggered by an arm resting over them, so I 3D printed a cover. It covers the lock button if you turn it one way so you don't trigger any actions or unlock it accidentally, or you can access the controls again if you turn it the other way. The hole in the middle still fits a pop can.
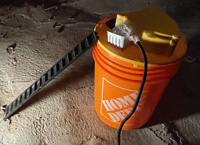
Building a better mousetrap - I added a motion detection smart camera to a self-resetting mousetrap to make it a mousetrap you don't need to check on. It will give you a motion alert when it catches a mouse or you can check on the camera remotely in case you missed a notice. I also added a ledge for the bait, so you can use water in the pail if you prefer to kill the mice, rather than catch and release elsewhere.
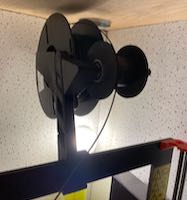
The spool holder I was using on my Prusa Mk3 works fine most of the time, but when you switch to a new reel, there's a risk of the filament getting knocked off the reel by the sideways motion of the print head and any residual torsion in the winding of the reel. It's especially risky when you're at the top end of a large print, as the distance from the reel to the moving print head is very small. You can build a larger box and taller spool holder to avoid this, but that wastes heat, so I designed an extender that holds the reel backward a bit and added an idler reel in front. The idler lengthens the distance to the print head, and makes the filament go around a bend with large walls on the idler, so it is safer from side-to-side print head motion.
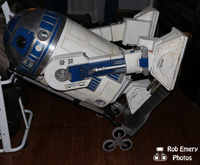
When taking my R2-D2 to charity events or conventions, there’s always the risk of running into a broken elevator or losing power far from the car. I wanted an emergency hand cart that can even go up/down stairs, so I created one. It leverages the folding and stair-climbing ability of a commercial cart, and adds cross-bars and a longer base plate to allow R2 to switch from 3 legs down, into a 1 leg down position that's easier to stabilize. It’s only 6 kg and can fold to fit into a backpack.
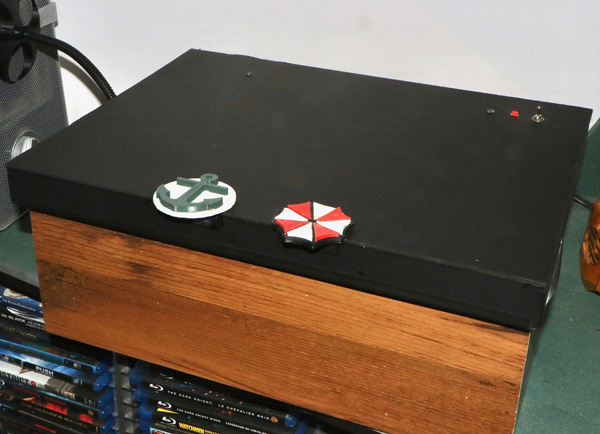
To remove germs & viruses on my Covid mask and peripherals (wallet, keys, etc), I made a UV Sterilization Chamber. It has separate handles so you can open it with clean or dirty hands. LED and mercury lamps generate UV and are on an interlock, timer and foot switch for safety and operation with minimal contact. The LEDs at 265nm and 275nm are in the ideal sterilization range, but lower power. The mercury lamps at 254nm are a little off, but have a wide spectrum and higher power. Between the two types, hopefully they get the job done. The support grills allow objects to be hit on all sides with UV bounced off the reflective walls, floor and ceiling. There's also forced air syphoned off a filtered HEPA ionizer to dry items and prevent heat buildup in the box. Covers over the vents and lid minimize UV leakage. Burst sterilization can be set up to an hour long, but items can also be left in with a lower UV dose until needed with cables recharging items that need it.
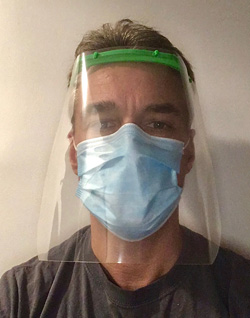
When Covid-19 started spreading in Canada, I wanted to help by printing face shields for healthcare workers, but I didn't have the transparency sheets needed and stores were closed. I did have laminator sheets though, and was able to make them transparent by running them through the laminator empty (adding a little drag helped reduce bubbles from the lack of filler). I also created a template for 290mm laminator sheets so they could be punched with a fixed 3 hole punch. For others with transparencies, I made a template for 8.5x11" acetate/transparency sheets as well.
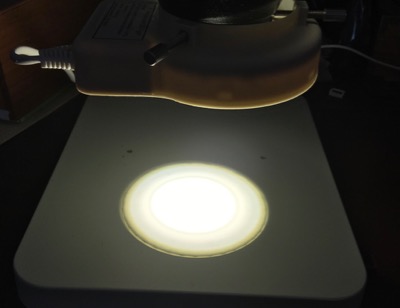
I upgraded my microscope by adding a transilluminator to its base. It was made by replacing the opaque specimen plate with a 3W LED ceiling lamp that happens to fit in the hole. A 3D printed cover plate was added to bring the height level back up. To install the illuminator electronics, I just needed to drill/cut a couple of holes for an AC switch and the AC power cord and glue them down.
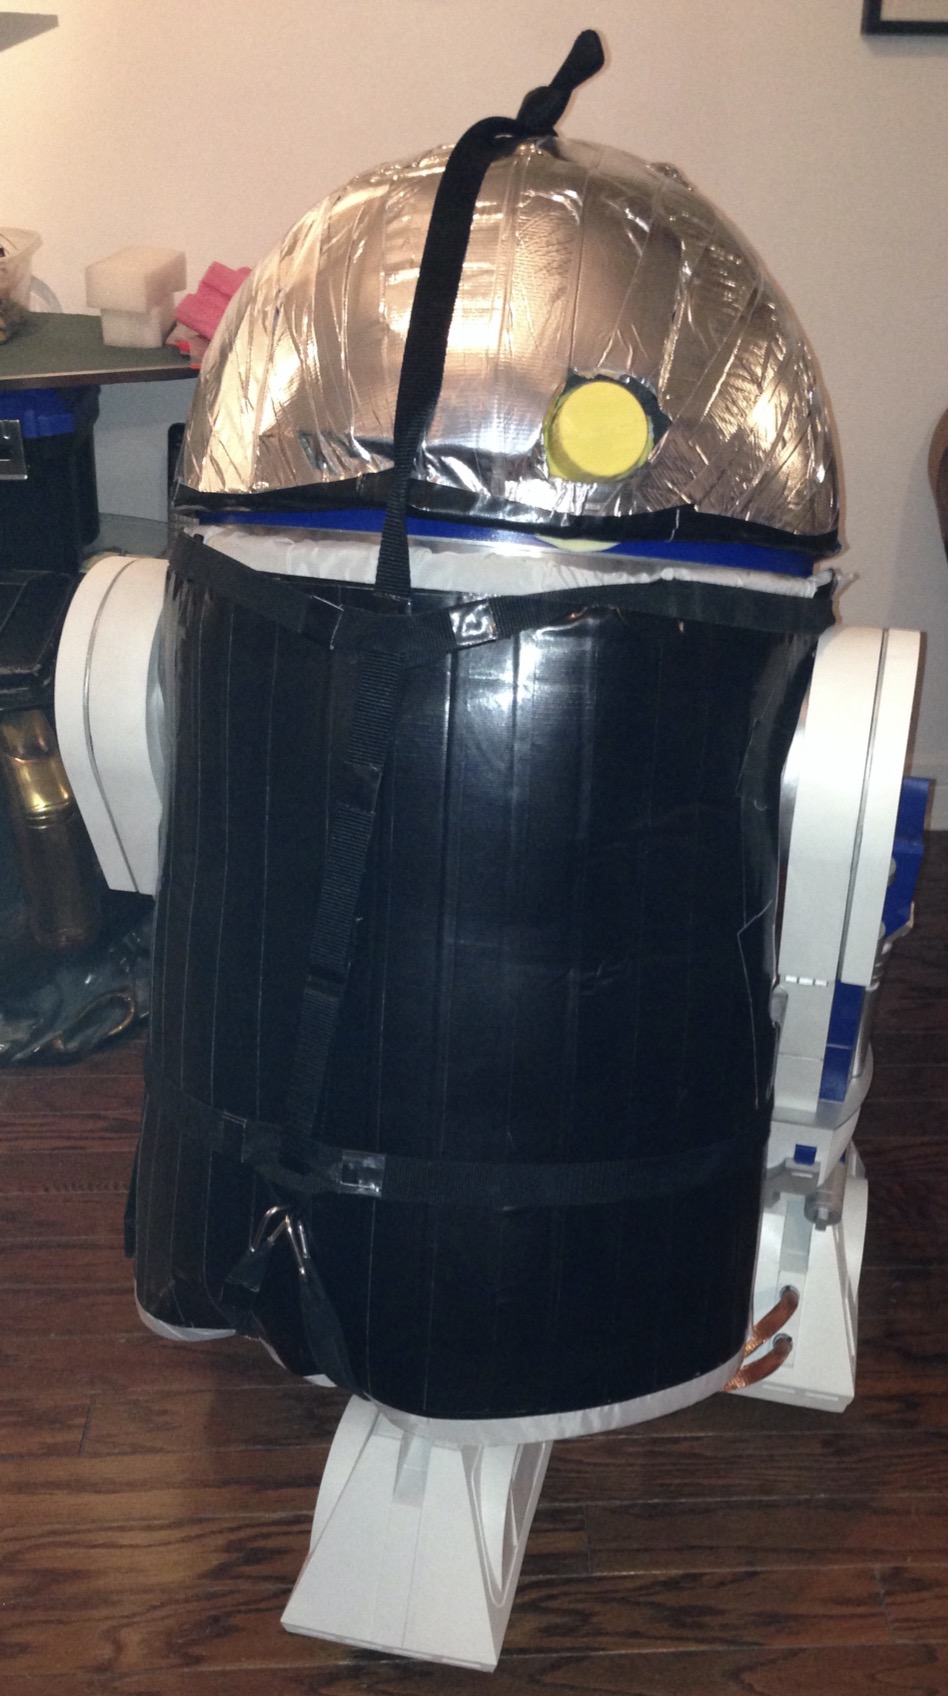
I made a wrap that could go around R2-D2 to make it easier to load him into a sedan and to protect R2 (in case of toppling over) once the legs are removed. To make the leg removal easier, I use a metal basket that the center leg sits in (while the weight it mostly supported by the skirt). The mat and 3D printed holo covers protect the head and body, while the strap allows him to be dragged in from the other side if you have a helping hand (or else thrown/pushed in is fine for lighter droids). The inside of the leg mats are duct tape (to prevent the yoga mat from sticking to R2 under high heat) whereas the inside of the main mat is white nylon fabric (lesser risk or adhesion but not as easy to shape for use in the leg mats).
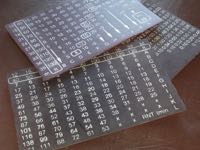
Commercial NAUI and PADI dive tables have tiny print, too small for me to read, so I made a larger set of 3D printed dive tables. To get the 2 colour effect on a 1 colour printer, I debossed the text and then filled it in with ABS juice and sanded it back to flat.
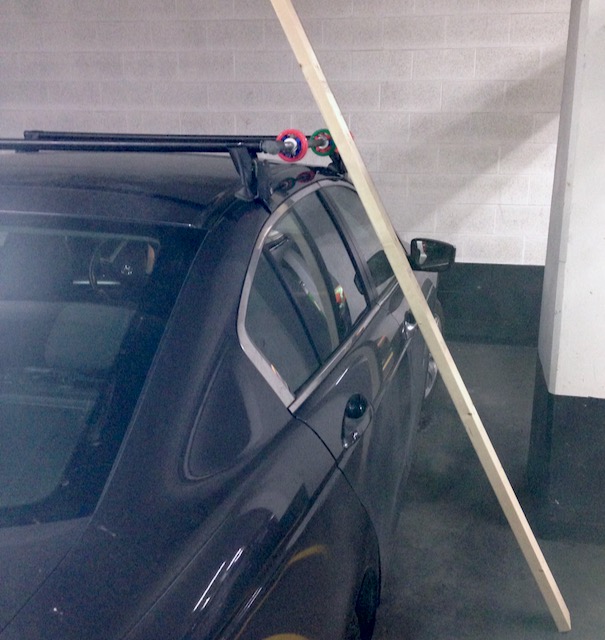
Loading a large object like a door or wood panelling onto a sedan's roof rack isn't too hard with 2 people, but with just one something's likely to get scratched. To make it easier, I created a roller rod that slips right into the existing roof rack and allows items to pivot around the car from the side. Just lay the item against the car rack, lift then pivot around. For ease of construction, I 3D printed bearings that fit on 1/2 inch metal pipe. Omniwheels can also be used to give more rotation options. The roller rod can be removed for travel, or locked in with linch pins.

I combined some 3D printable parts (EOS & c-mount) to make an adapter (part a, part b) the right thickness to mount a Canon EOS SLR camera to a c-mount trinocular microscope - allows capture of high-res pictures or video.

My mom's GE fridge didn't come with a drip tray for the fridge door's water/ice dispenser, so it makes a mess when any misses the glass or splashes out. I designed and 3D printed a simple drip tray that can sit on the ledge to catch any spills or be removed for easy cleaning.
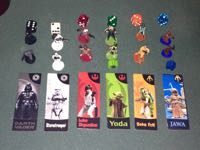
I had some great boardgames limited to 5 or less players, whereas I often had more folks wanting to play so I made expansion packs for many of them (they're not for sale, but you can get details and tips on making your own here). I also had some fun replacing pieces and painting them.
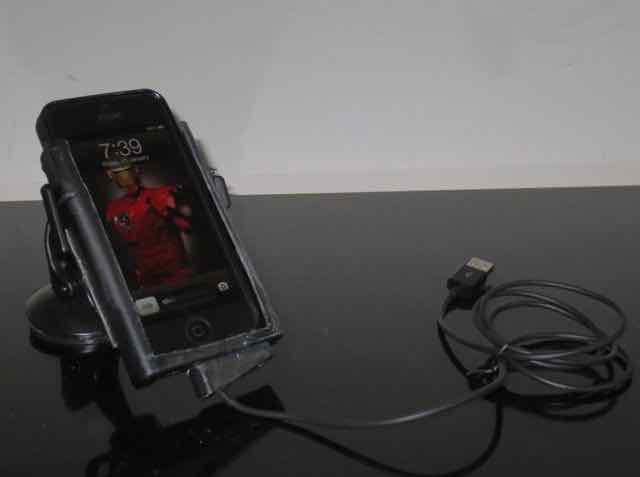
This car mount adaptor for my iPhone was made out of an old cassette tape case.
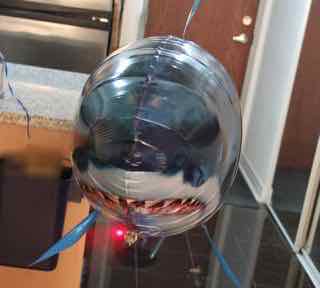
Radio control flying shark with a frikin' laser strapped to its head. I redesigned a flying shark to lighten it enough to add a laser to it. Mwuhaha!
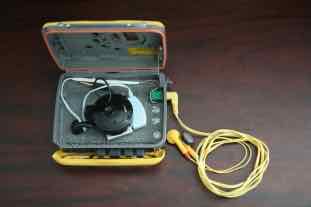
This water resistant MP3 player case was made from an old Sport Walkman. I removed the guts and added an earphone plug inside so you can connect to any mp3 player that fits. It uses the water resistant headphones that came with the Walkman. You don't have access to buttons but press play with a long playlist before you go into the water and you won't need them. The iPod shuffle is also modified - it's glued to retractable headphones. These minimize cord tangle issues: making it easy to put into the case, and reducing cable hazard when jogging (you can clip it to your collar and retract the cable to less than a foot), etc.

This playstation was made for my nephew. Hooked up to the oversized buttons and switches (he loves those) are: a plasma globe, a disco ball with LED light, a lightning plasma display and blinking LEDs. The trackball is linked to plastic fiber optics which carry light to the cardinal points on the lightning display in the same direction that it's being spun. The lightning display is sound activated, so it turns on when he taps on the glass, activates the disco ball globe or giggles. The front strip has various optical illusion plastics & shiny metal foils, as well as a liquid crystal strip that changes colour with touch, so you can see your finger or hand print after you touch it.
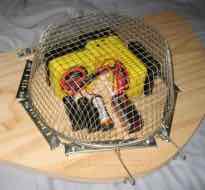
The Raccoon Repeller was created to discourage a family of racoons from staying under a cottage. A constant barrage of loud human voices under their nest prevents them from sleeping and encourages the parents to move the family to a home outside. This is friendlier than trapping, where the kids are left behind and die and the parents are often killed in the new neighbourhood they are moved to by other predators/competition. The setup was protected with a metal grill to prevent sabotage by the racoons.
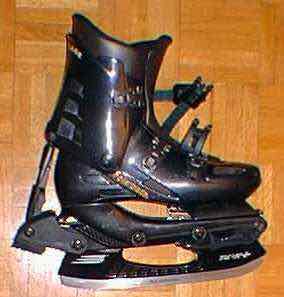
This Rollerblade-to-Skate conversion was built to see if rollerblades could be used as skates with a simple replacement part instead of having to have a pair for each. The blade was purchased from a skate store, remodelled and reinforced with a metal plate to adapt it to the rollerblade requirements. Test skating with it was pleasant and without incident but did have a slightly different feel due to the extra height involved in this model (due to use of standard skate blade). Subsequent design with a single piece of metal as both blade and adapator reduced this height difference, but some will always be present to avoid hitting the brake or rollerblade edges.
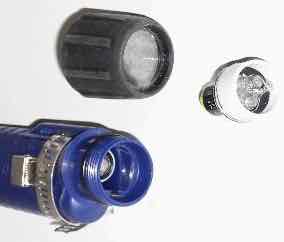
This LED Bulb was created for a flashlight for my climb of Mt. Kilimanjaro. I needed something efficient, rain, snow and shock-resistant and that could be attached to my hat as a headlamp. Since they weren't available back then, I built my own LED bulb for use in a scuba flashlight case. The bulb consists of three white LEDs and resistors. The bulb consumed one quarter the power of the original bulb and lasted for more than 20hrs on 4 NiMH AA cells. Currently it lasts 40hrs on NiMH, due to advances in battery capacity, or 100+hrs on Lithium. It sheds as much uniform light as the underwater bulb, but lacks the focused center beam and is therefore only effective up to 6m (20ft). This was fine for hiking/camping use, but isn't good enough for scuba so I switch back to the halogen bulb for night scuba dives.
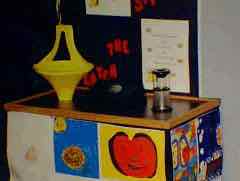
Alex, Paymon and I made this charity collection box for an ECF fundraising drive. It had two places you could add coins. In one, the coin spun round in a slow spiral to the center of the yellow cone. In the other the collection mechanism flipped it into a brief spin before accepting it. In either case, once accepted, it triggered a voice recording and fiber optic light display show. It was decorated with pictures made by kids of some of the other fundraisers.
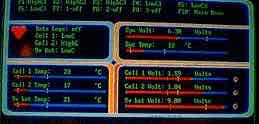
Alan and I built this High Speed Rechargeable NiCd Cell Charger. It had the ability to charge up to 4 AA cells in 15 minutes. Unlike most chargers, it also had the ability to charge just one cell if desired. The interface between the charging system and the computer was achieved with an 8 analog channel and 16 digital channel A/D converter. The sampling rate was only about 5 Hz but that was all that was required. The charger also had sophisticated programming to overcome early life failures (and failures due to misuse) and get seemingly dead/dieing NiCd cells restored to a longer life. Two methods of achieving this were through flash removal of whiskers and by deep discharge (to the voltage knee) of cells with memory effects. It incorporated an easy to use graphical interface with a Star Trek like format.
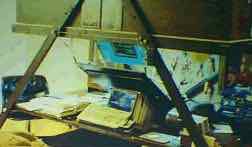
I built this ultimate bachelor bunkbed/desk combination to save space in a small apartment while studying engineering at university. The right side was a workbench for projects, the left side was a study area and the middle was a computer console that could lower out of the way to make more desk space (monitors were bulky back then). The top level had a bed and cubby holes for storing clothes. Perforated beaverboard on the back wall allowed hanging of tools. The entire thing was easy for one person to assemble/disassemble and very stable once the chain tensioners were added. The A-frame design gave it more of a futuristic look, but it was also able to be used in the conventional H-frame format too.

This Winter Bike project was a fun way to prove a winter obstacle course I was designing for high school science olympics could be completed with a human-powered vehicle. I added a rear axle and tires to an old bike to give it good traction through snow banks. In shallow snow, it rides like a regular tricycle. In deep snow, the front tire digs in enough to guide like a rudder. The best turning radius was about 1.5 m using all available gears for mechanical advantage. Steep snowy hills were a challenge but by using both feet, the bike could be kickstarted to travel a dozen cms at a time then held until the next kick with the handbrakes. It was the only vehicle able to complete the course but folks had fun and judging was made on best distance travelled.
 All images copyright Rob Emery