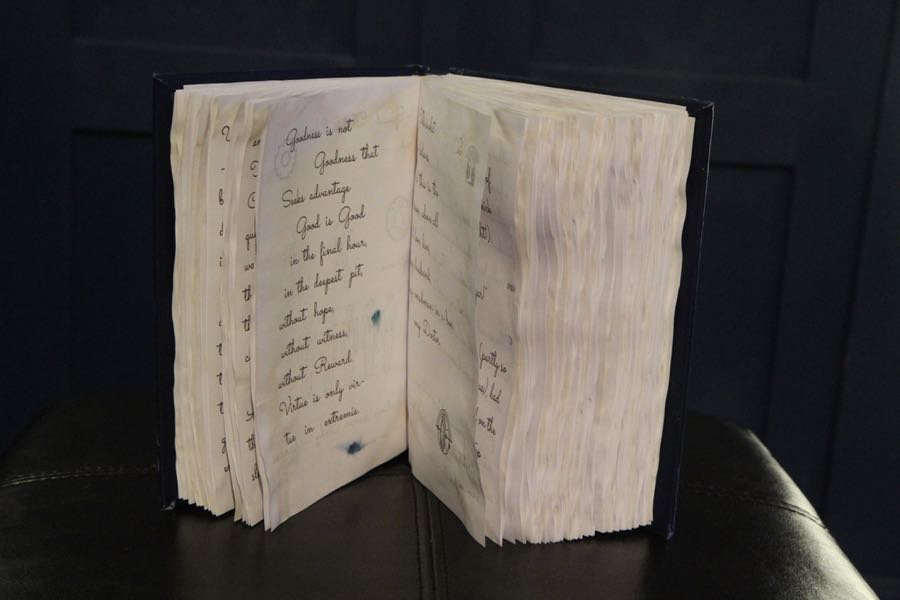
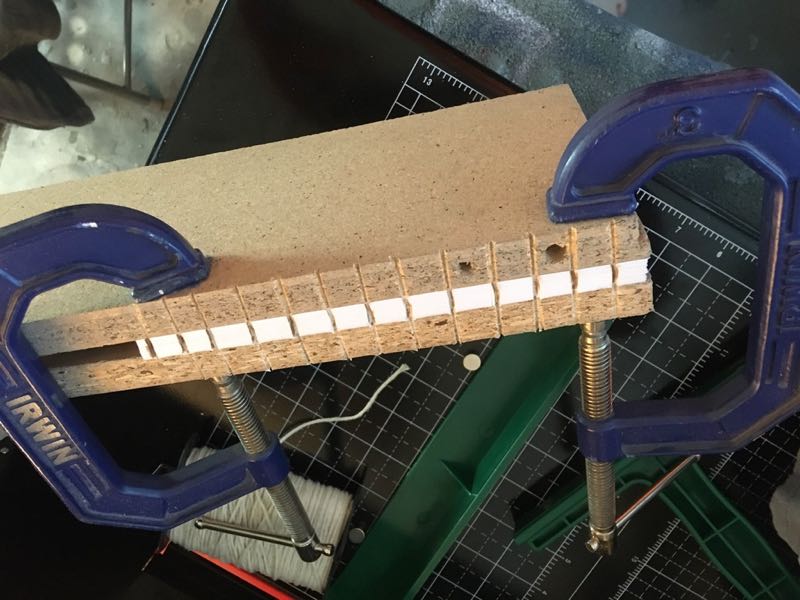
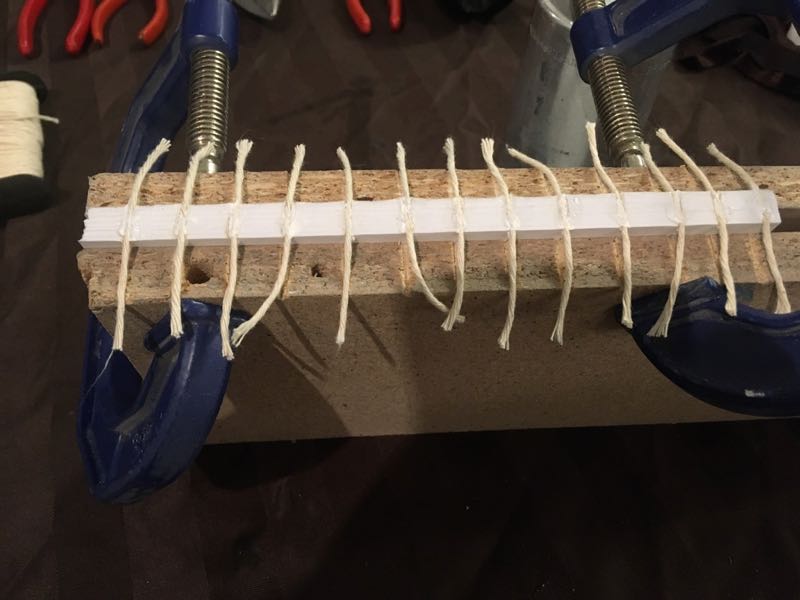
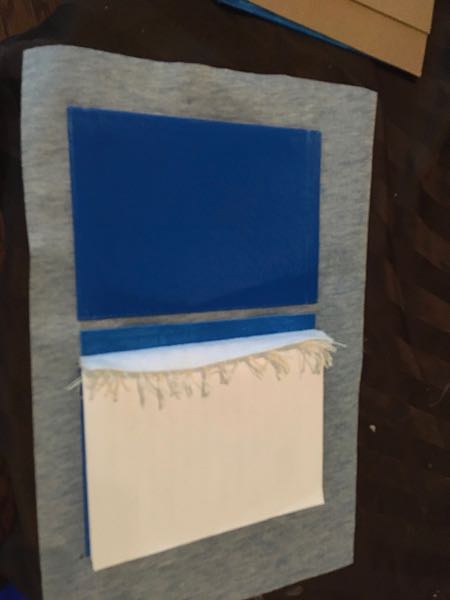
The text was made using screen captures and audio from the show, the video game (the Eternity Clock), fan made pictures/text, and the travel log a friend wrote on a trip we took together in Peru. After printing, the pages were cut to size with a 400 page capacity book cutter. Then slots were sawed into the spine with a rotary blade and hacksaw while holding the pages in a makeshift wood book clamp. String was glued into the slots (once moved away from the wood) to make attachment points to the cover and a bit of extra fabric was glued over top of the spine for extra durability.
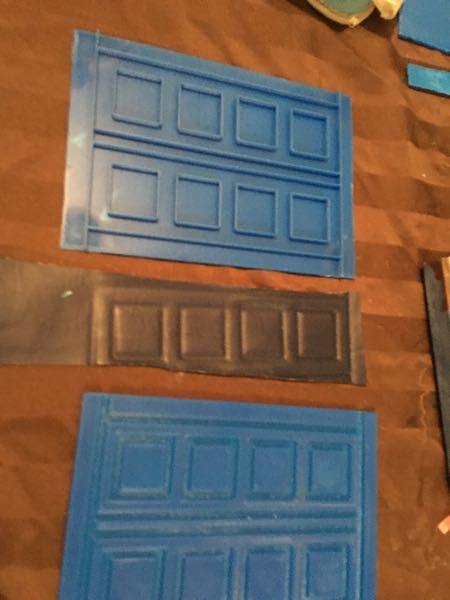
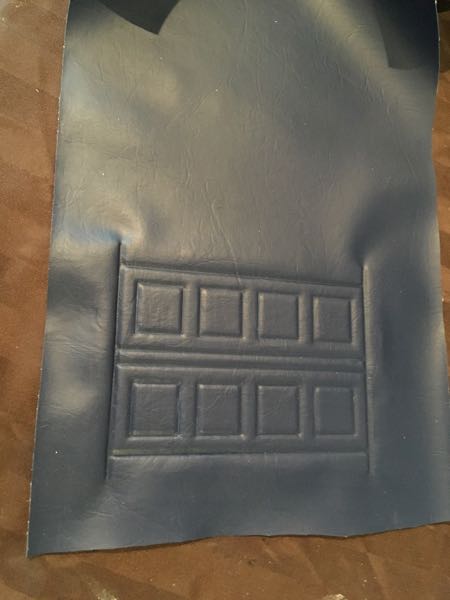
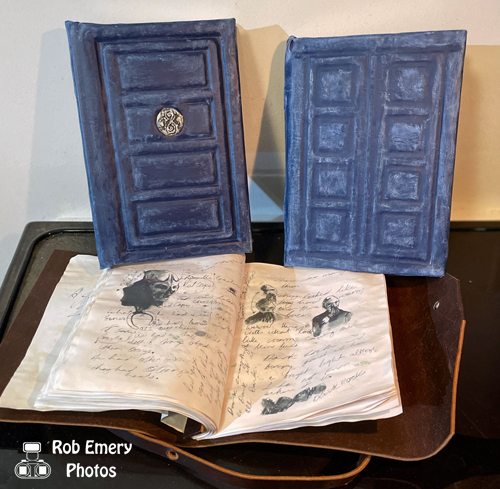
The cover was made by 3d printing a positive and negative of the Tardis shape for each face. The positive shape was glued to the inside of some blue pleather while the negative shape was pressing into the crevices from the other side. I tried contact cement with a little heat from a heat gun to soften the pleather but found one or the other made the press plate stick to (and damage) the cover, so after that I tried again with Amazing Goop and pressure (but no heat). A spine shape/support was also printed and glued to the pleather between the two end faces. The text block was then glued into place over the spine support. I should have folded over and glued down the cover perimeter before glueing down the text block but did it after instead. The faces and text block were linked by spreading the fibres of the strings and glueing them to the cover with a blank page glued over top to hide them.
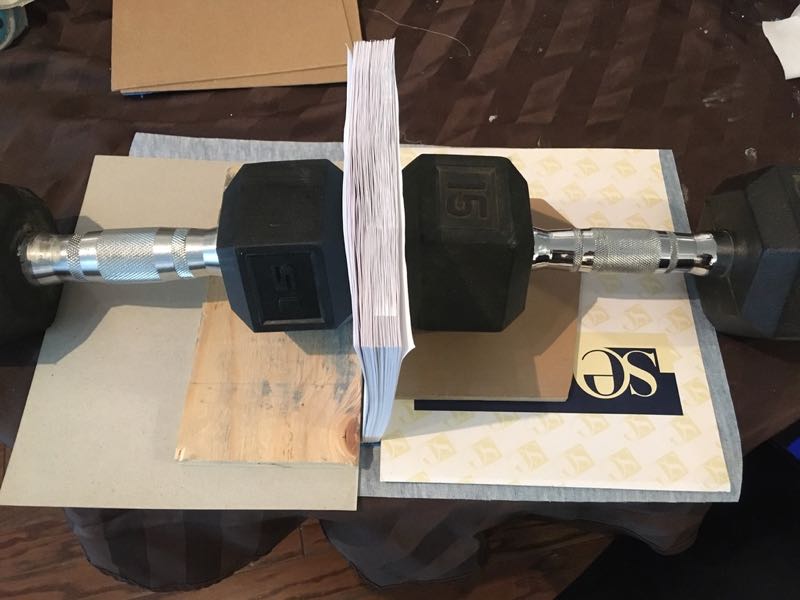
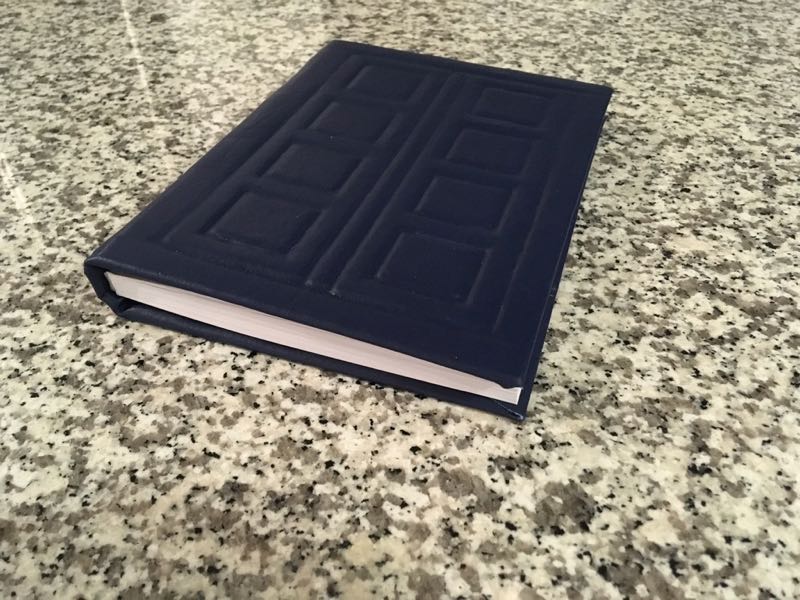
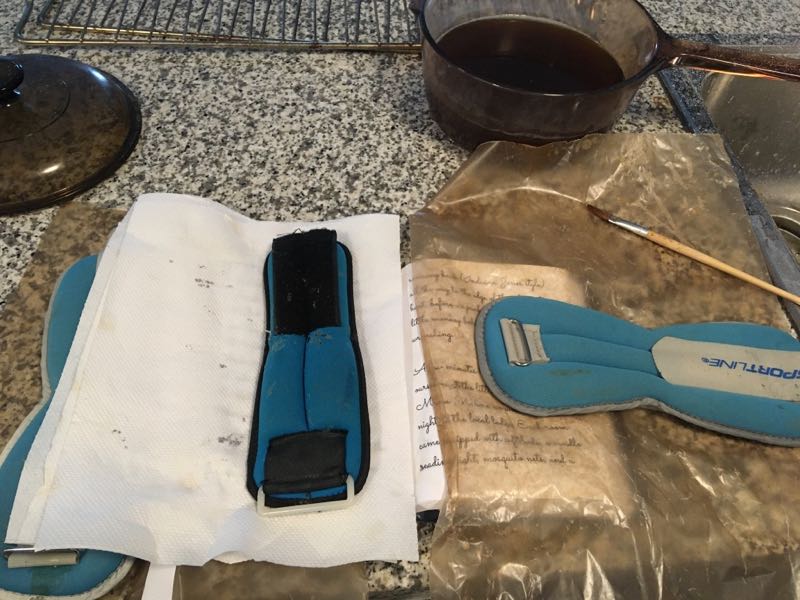
Once complete, the book was weathered to look more like the original. The pages were tea-stained by separating a few at a time and dabbing them with strong tea. To prevent smudging of the printed letters/images, printed area was avoided as much as possible and paper towels were placed between the pages while they dried. Wax paper was used to protect other pages. When done, a heavy weight was placed on the book to bring the thickness back down. The cover was painted by dry brushing with white and blue acrylic paint, using a wetted cloth over a rounded thin piece of plastic to rub the channels clear. I learned the hard way that the cover glue I used (Amazing Goop, silicone-based) was not compatible with pleather in the long term either (degraded it, which affected the paint). That was ok though, as I had spare pleather and didn't like the first paint job anyway, so it gave me an excuse to redo the cover, this time using wood glue (fingers crossed, but so far, it's good).
 All images copyright Rob Emery, 2020; Dr. Who names, pictures & shapes are copyright BBC.