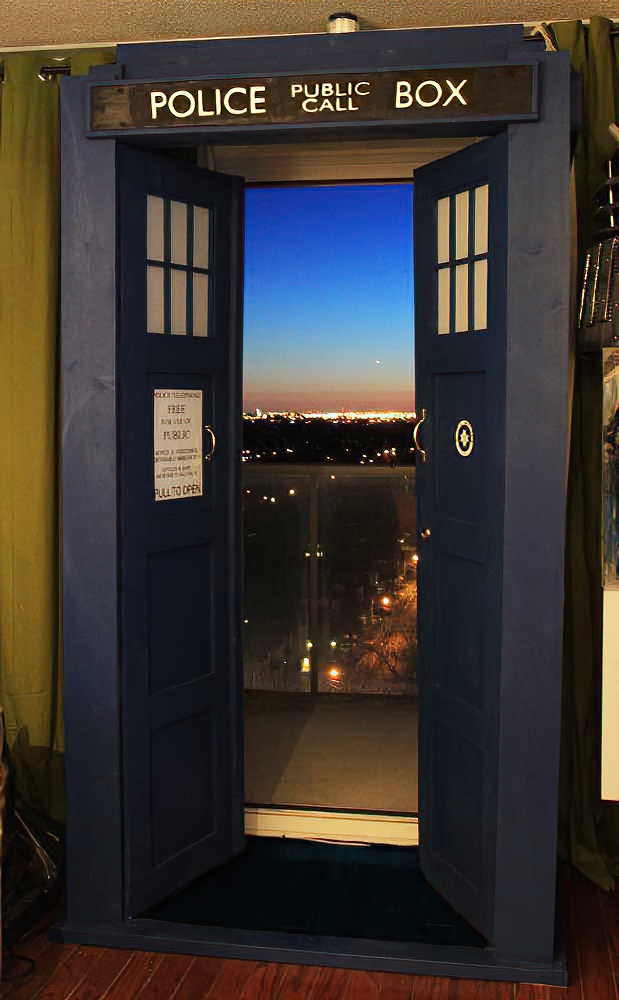
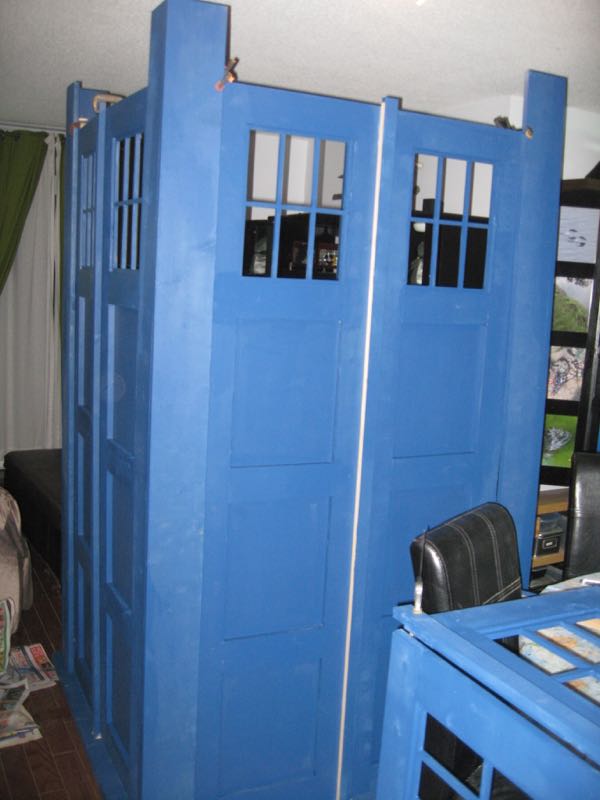
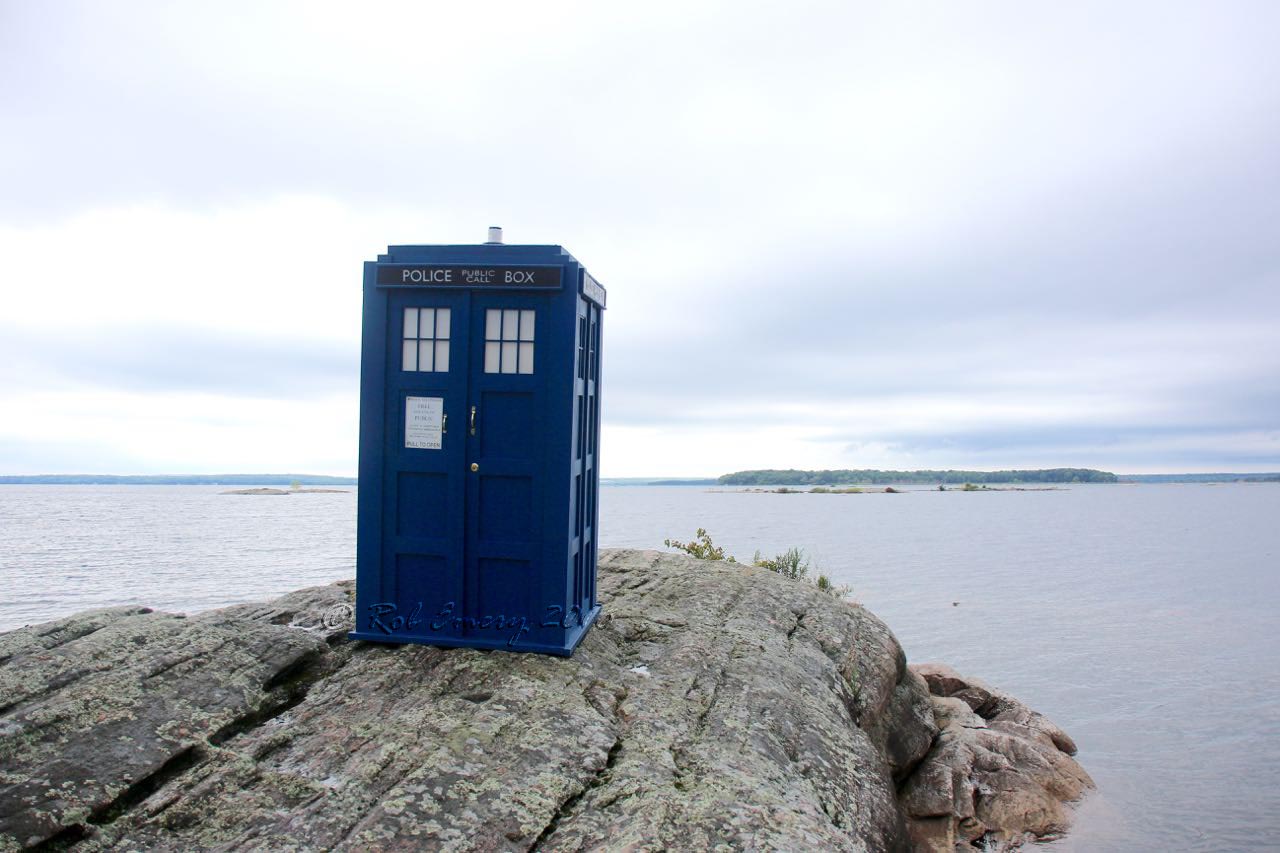
I set out to make a Tardis that was:
- exactly 8' tall (to fit indoors, but still tall enough you can walk through the door without bumping your head)
- compact enough to fit inside a sedan when taken apart
I liked the build method and ease of assembly from Steve's Build so incorporated the pocket screw approach, but designed a lighter roof and a slimmer base that could be taken apart for putting inside the car. It's similar in most relative dimensions to the Yardley-Jones, but without the above door trim. I also was aiming more for a War Doctor's Tardis look, so will likely paint it that way eventually but am enjoying the pristine one for now.
Tools:
- Table Saw
- Drill & Sanding Attachment
- Pocket Screw Jig
- Dremel with plunge cutter
- Clamps
Materials:
- I opted for knotty cedar for the wood. Not sure I'd still recommend that (it has good bug resistance but is very soft) - knotty pine may be better.
- A few panels of blue and white corrugated plastic were used to make the walls, windows, and roof lighter.
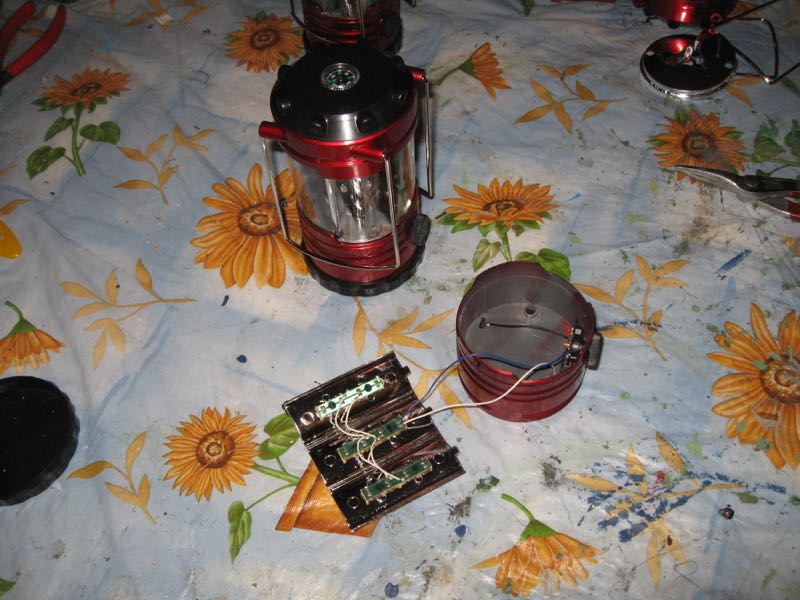
- Dollar store lamps for the police box signs and top light.
- Black oil paint over white corrugated plastic for the Police Box sign.
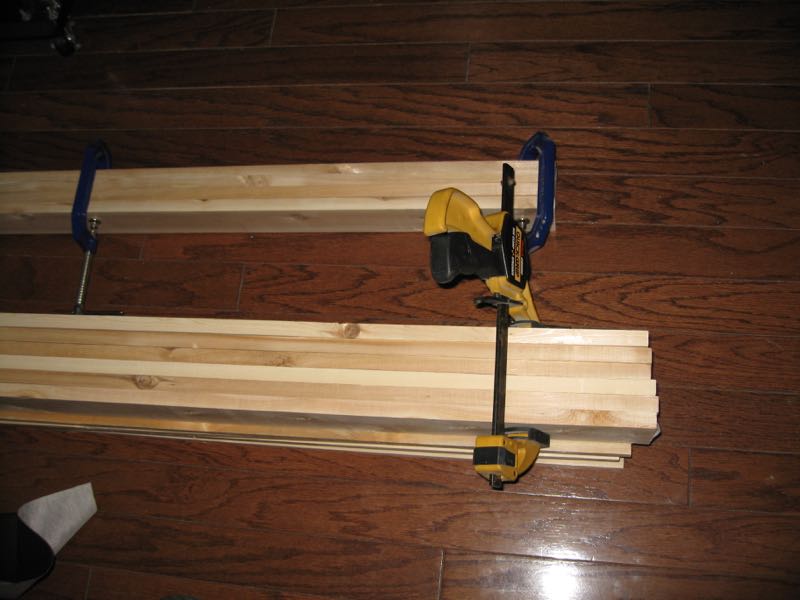
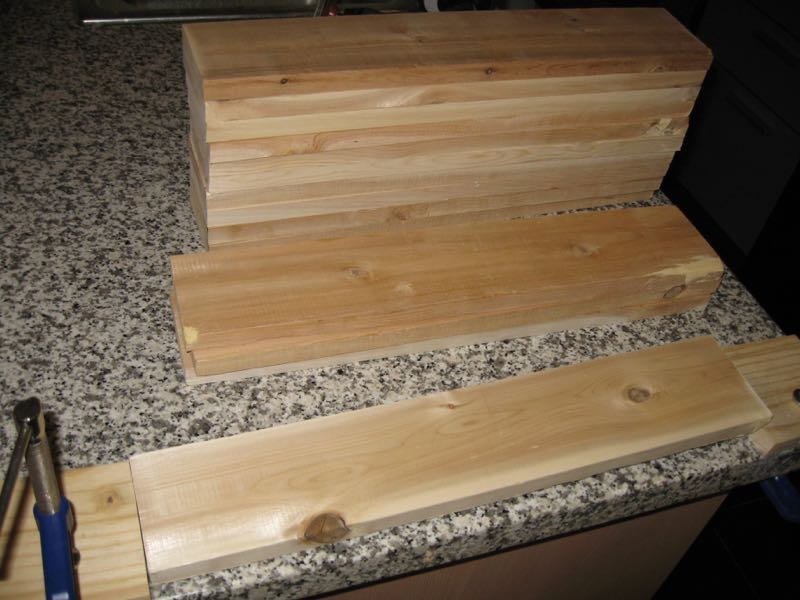
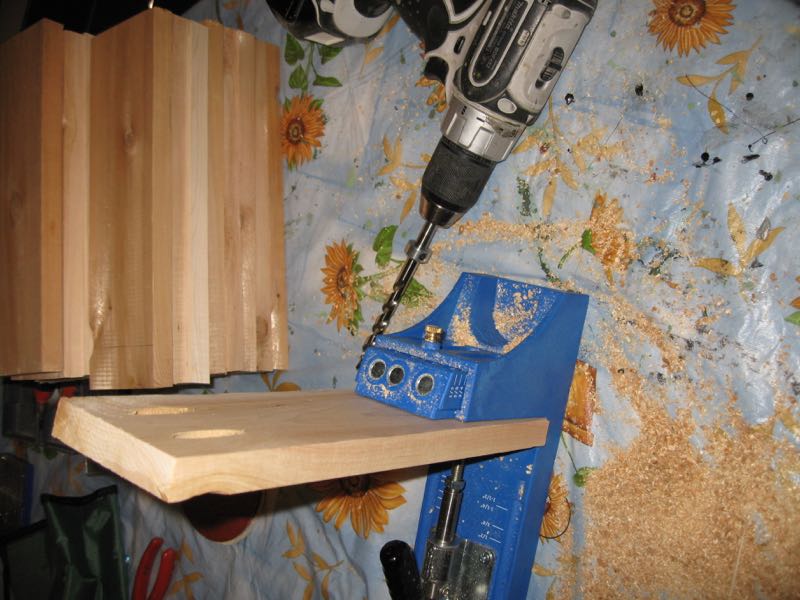
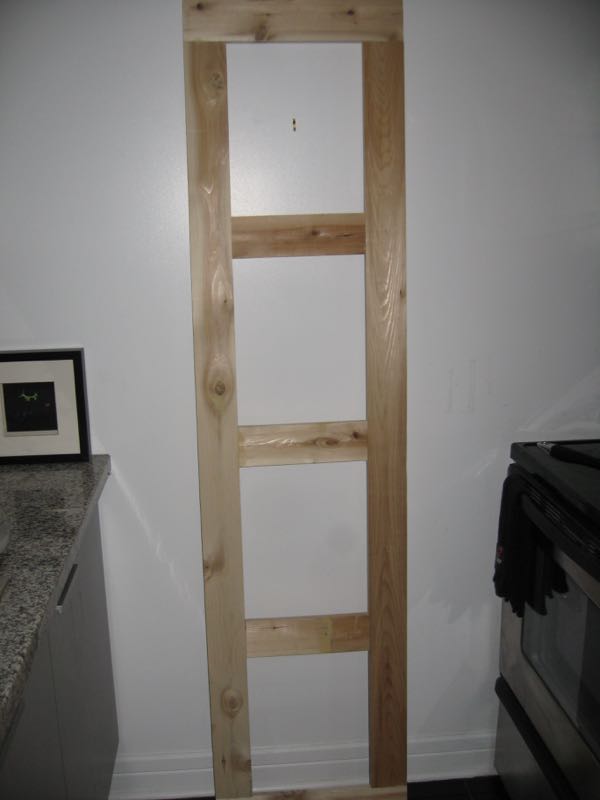
Step 1: First, I cherry picked the wood in the hardware store to be the straightest available. Then I strapped it together for a few days help it stay straighter as it dries. It was marked and cut, and finally the slots for the pocket screw holes were cut using a special jig.
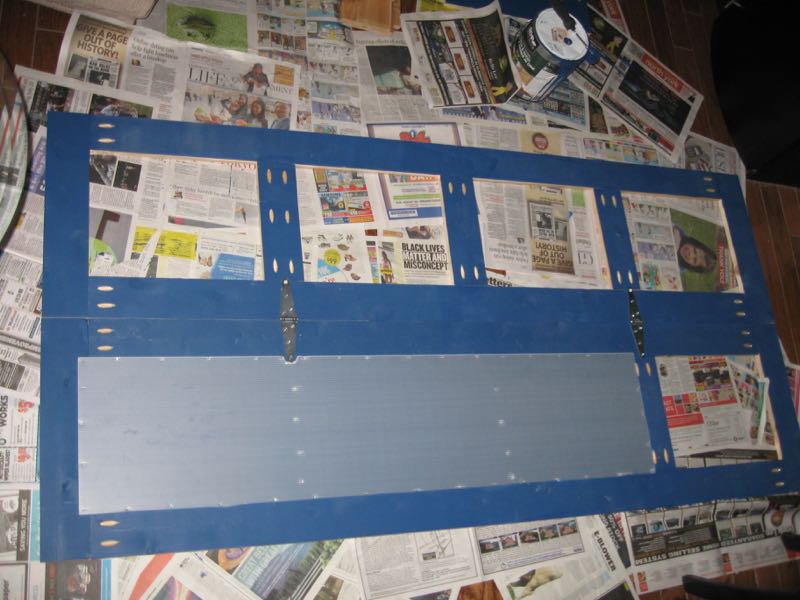
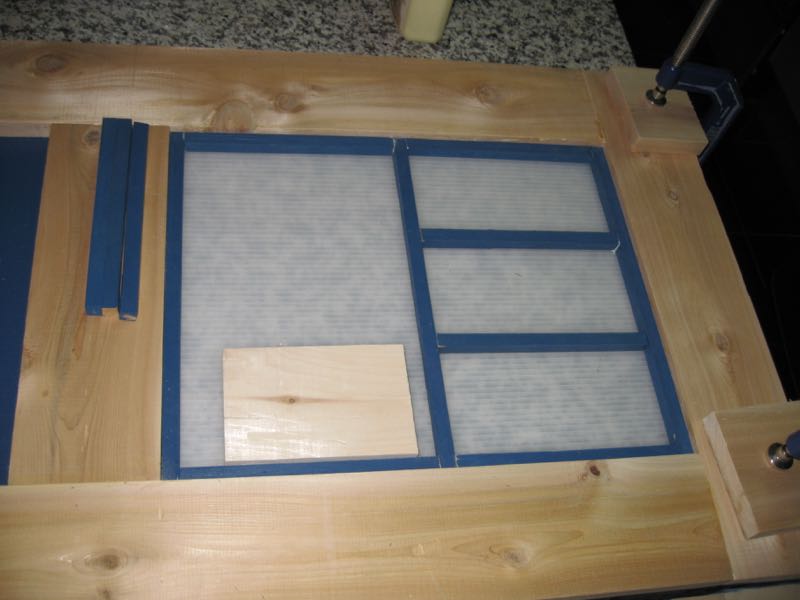
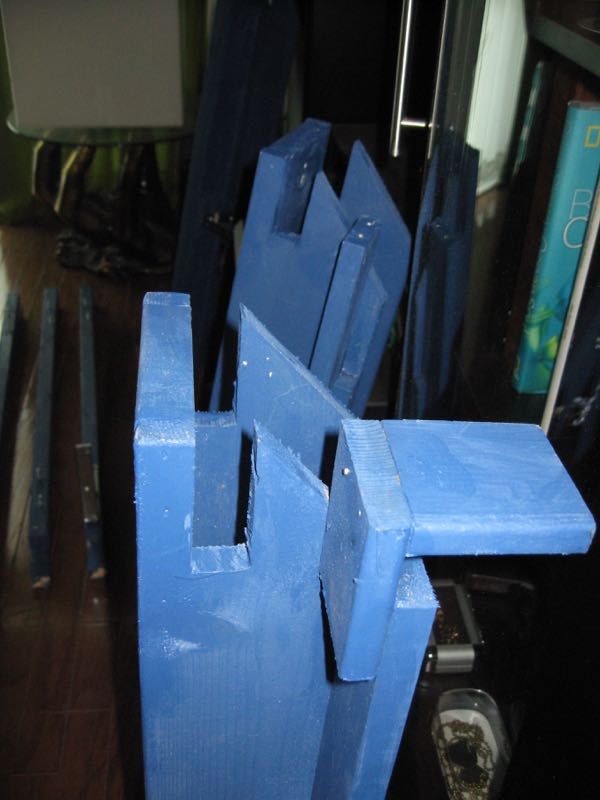
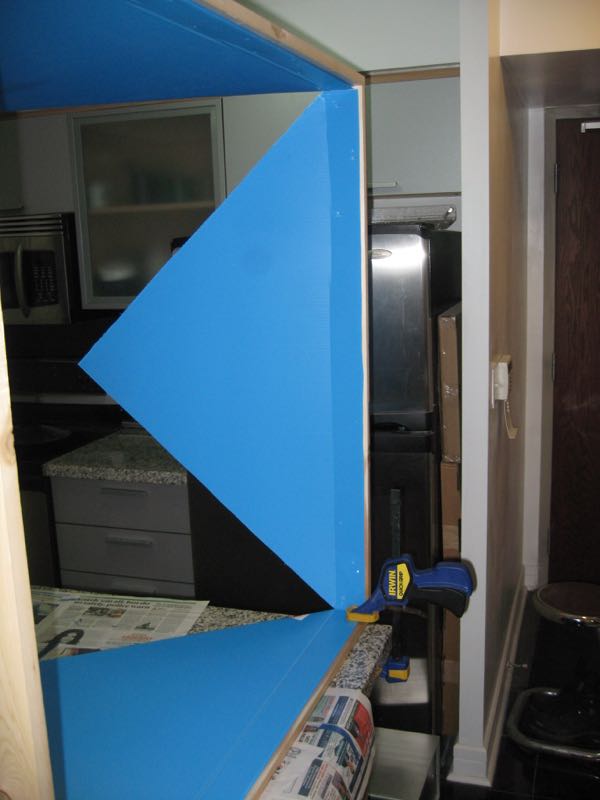
Step 2: The doors / wall frames were made first, adding the backing and window frames once complete. Hinges added to each pair allow the walls to fold up for easy carrying and so they stack nicely inside my car. It also allows open walls during assembly for easier access: 1 half of each wall can be left open while the other is assembled. Slide locks on the other half secure that side when you're ready to close it all up.
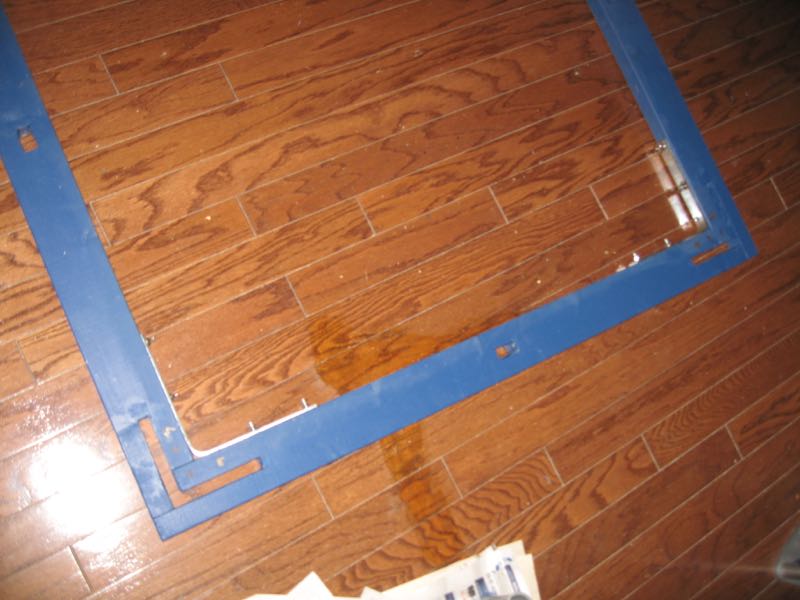
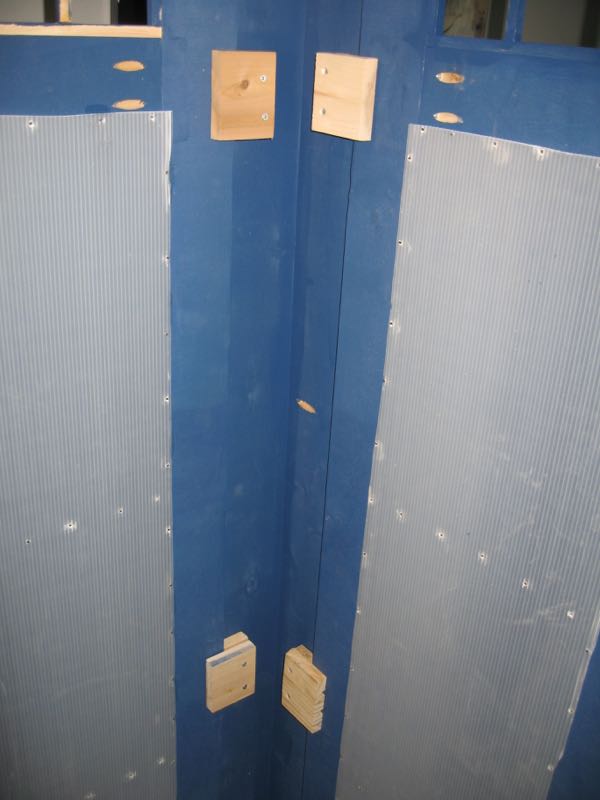
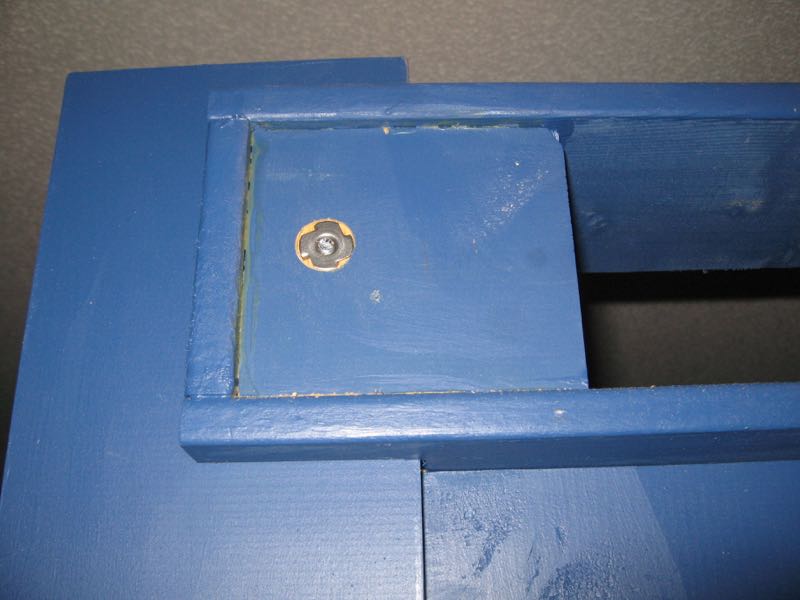
Step 3: The base was made of 2x4's cut with slots to fit around the L-beam corner posts with L-brackets for support. The base comes apart for easier placement in car/storage thanks to the embedded (hidden) bolts and wing nuts on the inside. The corner posts lock into the base with smoothed (for easy insertion/removal) eye bolts. The posts originally had two bracers (the unpainted piece in the picture) added to the inside to keep the walls in place, but I redesigned that to just one central one for each post later on. They were also made removable, using embedded T-nuts, to allow the corner posts to stack flatter in the car (bracers removed). The Police Box signs also use T-nuts to secure the posts to the sign. The Police Box signs were hand painted with oil paint to make the black opaque, over the translucent white plastic.

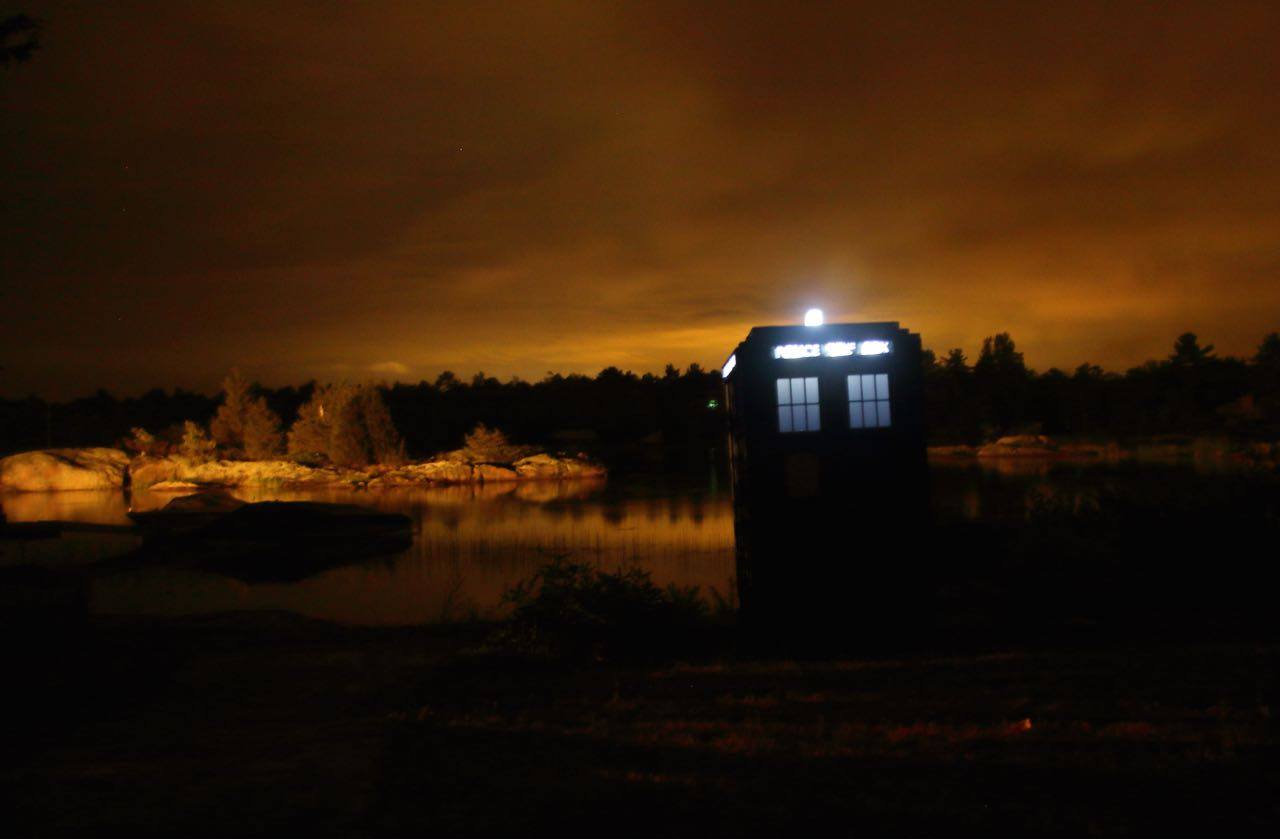
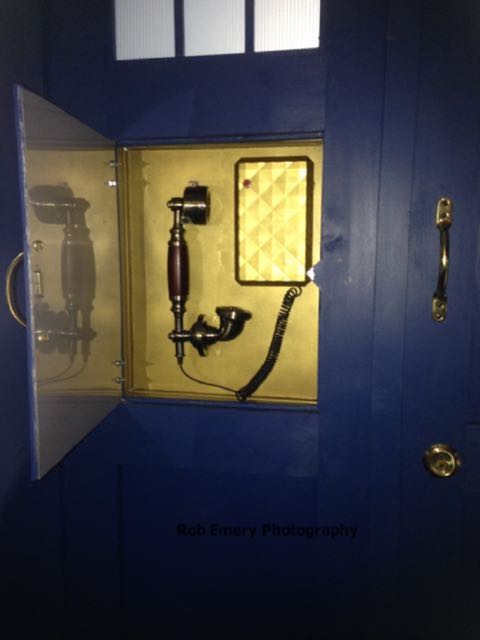
Step 4: The wall panels have a central trim that extends up and down to lock into the holes in the base and the police box signs. The roof is a wood base, with plastic triangles folded in and secured to a wooden ring in the center. It rests on a ledge on the police box signs, and locks together with eye bolts going into blind T-nuts. The lamp also inserts and gets secured to the ring with another eye bolt - t-nut combination. The lamp and sign lighting use dollar store lamps stripped of all but the battery, switch and LEDs. Finally, the phone panel, lock and handles were added.

I added a phone that's a cellphone compatible headset, with an added button so it can answer/hangup the phone. There's a USB power line when it's indoors so it can respond to "Hey Siri" commands.
I also made a 1/2 depth version (a portal to my balcony) that uses 2 walls (the hinge allows them to fold to 1/2 depth), 2 corner posts, 2 doors, 1 base piece and 1 police box sign from the full version. To complete it, I had to make 2 half length signs, a 1/2 width roof and 1/2 length base pieces. While I was at it, I made the second door openable for easier access to my balcony by removing the locking feature of the trim and adding sliding bolts instead. I also added a removable magnetic St. John Ambulance sign.